| APPLIES TO: |
| All products and plans |
With the documents tool, you can build a library of content for your entire team to upload and share documents with your contacts.
Please note: free users can access the first five documents uploaded in an account. If a free user is added to an account where five or more documents have already been uploaded, that free user can view and share only the first five documents that were uploaded in that account. If no documents have been added to the account, the free user can upload up to five documents.
You can view the total number of documents that have already been added to your account in the top right corner on the documents dashboard. Learn more about these limits in HubSpot's Product & Services catalog.
Add a document
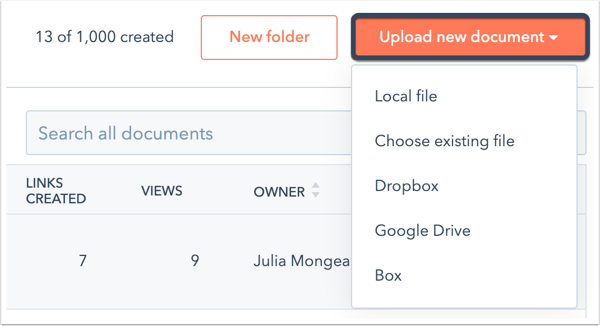
- In your HubSpot account, navigate to Sales > Documents.
- Click Upload new document, then select the import source for your file. Make sure your file adheres to the file type and size restrictions.
Once the document is uploaded, it will appear in your documents dashboard.
Please note: as documents are publicly shared, the documents tool should not be used to send sensitive or confidential information.
Necessary disclosure: if you use HubSpot's documents tool, files that you upload using this tool are stored by HubSpot and shared with other users in your HubSpot account.
Share your document with contacts
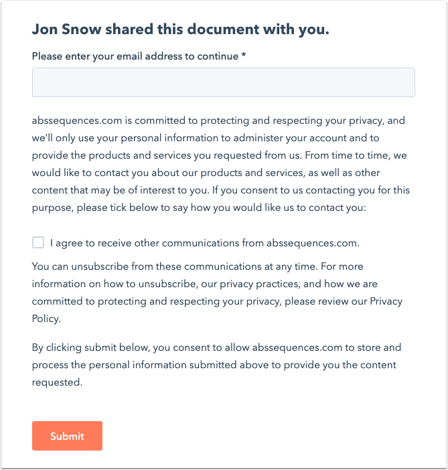
HubSpot will automatically apply tracking when you share a document, which will show you if/when your contact views the document. You can also require recipients to enter their email address before viewing the content.
Please note: if you have GDPR switch turned on for a particular document, the viewer will be required to enter their email address before reviewing the document.
To share the document with your contacts, create a shareable link from the documents dashboard or from the document details page, or add the document link to your sales email templates.
Create a shareable link
- In your HubSpot account, navigate to Sales > Documents.
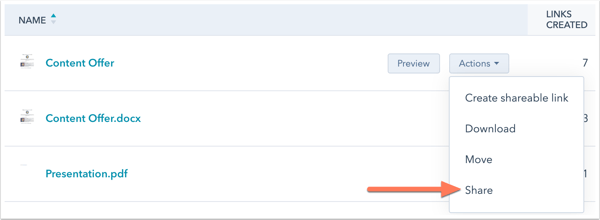
- Hover over the document name and click the Actions dropdown menu, then select Create link. Or, click the name of the document, then click Create link in the upper right.
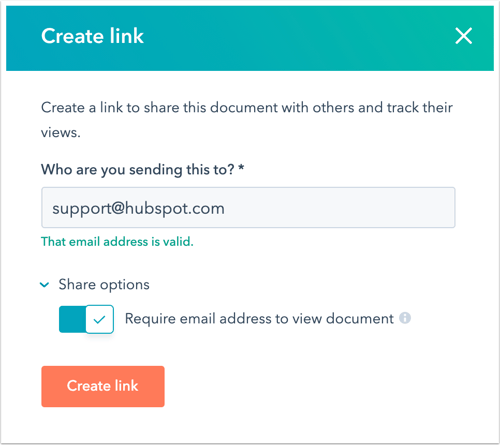
- In the dialog box, enter the recipient's email address in the Who are you sending this to? field.
- To track the individuals who view this document, click Share options, then click to toggle Require email address to view document switch on.
- Click Create link.
- Click Copy to copy the document link, or click Compose email to send an email with the document link from the contact's record.
Add a document to an email template
- In your HubSpot account, navigate to Conversations > Templates.
- In the upper right, click New template, or click a template name to edit an existing template.
- At the bottom of the template editor, click the Insert dropdown menu, then select Document.
- Click the Document dropdown menu and select a document to add.
- In the Link display text field, enter the text to display for the document link.
- To track who views the document, select the Require email to view document checkbox.
- To display a preview of your document in the email body, select the Include link preview checkbox.
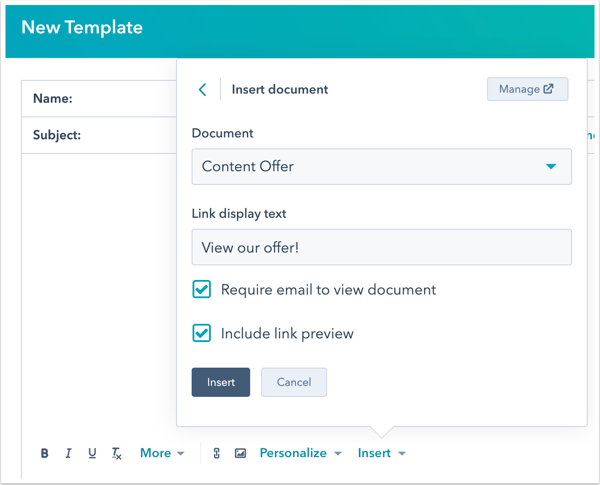
- Click Insert.
Learn how to insert a document into an email template when enrolling your contacts in a sequence.
How does HubSpot track document opens?
When you share a document, HubSpot associates the first document open with the email address of that contact. A cookie will be set in the contact's browser and if they view another document shared from your account, they will not have to enter their email address. Additional contacts who open the document link will need to input their email address, unless they previously viewed a document shared from your account. When the Require email address to view document setting is disabled, all contacts who view the document link will not be identified unless they have previously entered their email to view another document shared from the same account.
Manage your document
- In your HubSpot account, navigate to Sales > Documents.
- In the upper right, use the search bar to look up a document by name, or filter by the document's owner using the Owner dropdown menu.
- To organize your documents in a folder, select the checkboxes next to the documents to move, then click Move to folder at the top of the table. In the dialog box, select the folder name, then click Move.
- To change who the document is shared with so only certain users can view and use the document, hover the document and click the More dropdown menu, then select Share. Learn more about sharing access to sales content with your users and teams.
- To view details about an individual document or edit the document, click the document name.
- To edit the document title, click the pencil icon edit in. Enter a new title, then click Save.
-
- Below the document title, you can turn your privacy and consent options for a particular document on or off. Complying with the General Data Protection Regulation (GDPR) involves some slight changes to your documents before you share it with your contacts:
Please note: while these features live in HubSpot, your legal team is the best resource to give you compliance advice for your specific situation.
-
-
- If you have GDPR turned on in your account, the Enable privacy and consent (GDPR) switch is turned on by default for each document, but can be turned off on an individual basis. With this enabled, your contacts must give consent to communication and data processing. When you share a document, the language from your privacy and consent settings will appear and will include a prompt for consent to your one-to-one communication subscription type. The privacy and consent text will display in the viewer's browser language, but if HubSpot cannot detect the browser language, the text will display in the language selected in your account settings.
- If you have GDPR turned on in your account, the Enable privacy and consent (GDPR) switch is turned on by default for each document, but can be turned off on an individual basis. With this enabled, your contacts must give consent to communication and data processing. When you share a document, the language from your privacy and consent settings will appear and will include a prompt for consent to your one-to-one communication subscription type. The privacy and consent text will display in the viewer's browser language, but if HubSpot cannot detect the browser language, the text will display in the language selected in your account settings.
-
-
-
- The default subscription in documents is "one-on-one" communication. This is an internal subscription type in your HubSpot account. This default subscription ID can be updated in your contacts and companies settings and will apply to newly created documents.
-
Please note: if you had uploaded documents before turning on GDPR functionality, you will need to manually enable the privacy and consent option by switching the toggle on.
- Below the GDPR setting, view an overview of the document's total links created, visitors, and views.
- Below the document details, in the Visitors table, view a list of contacts who have viewed your document. Hover over their name and click Details to view specific information about their interaction with the document.
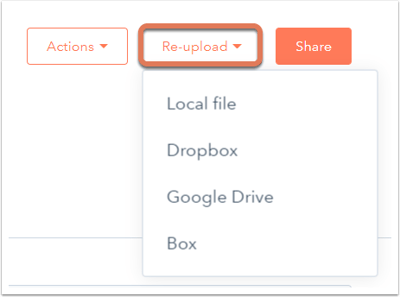
- To replace the existing document, click Re-upload in the upper-right, then select the source of the new file from the dropdown menu. If you sent a link to the document before re-uploading, the link will update to display the new content.
- To preview, download, or delete your document, click the Actions dropdown menu, then select Preview, Download, or Delete.
- You can customize the branding of your sales document in your account settings. Learn how to edit the company logo, company information, and default colors that display on your document.